Videography Tips for Beginners: Master the Art of Filming
Welcome to the world of videography! If you’re a beginner looking to break into this exciting field, you’ve come to the right place. In this article, we’ll cover essential videography tips to help you start off on the right foot. Plus, stick around for the FAQ section at the end to address some common questions.
Table of Contents
- Choose the Right Equipment
- Master the Basics of Composition
- Utilize Proper Lighting Techniques
- Capture High-Quality Audio
- Edit Like a Pro
- Practice, Practice, Practice
- FAQs

1. Choose the Right Equipment
When starting out, it’s essential to invest in the right equipment without breaking the bank. Here are some suggestions:
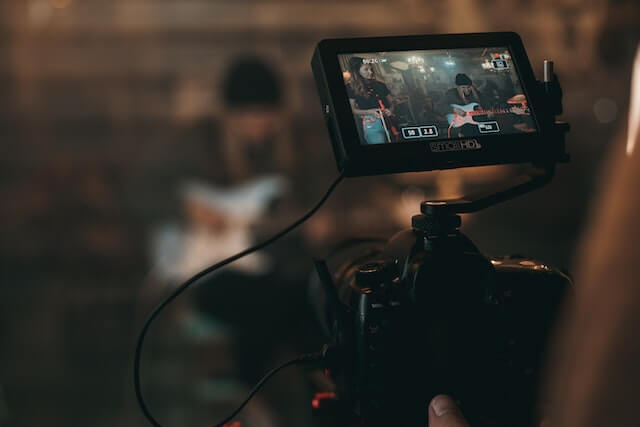
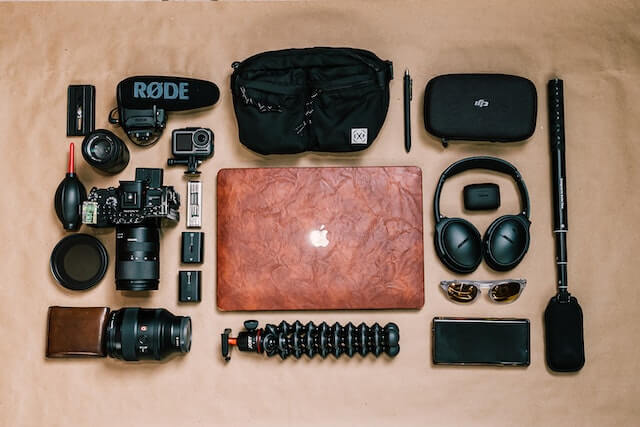
- Camera: Choose a camera with manual controls and good video quality. DSLRs and mirrorless cameras are popular choices for beginners.
- Lenses: Invest in a versatile lens (e.g., a 24-70mm zoom lens) that can cover various shooting scenarios.
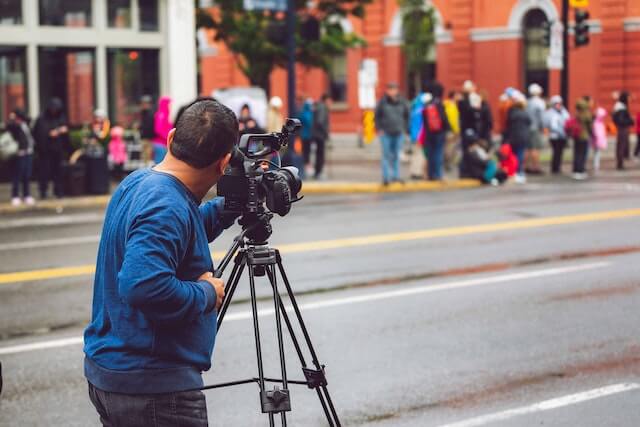
- Tripod: A sturdy tripod is crucial for steady shots and smooth pans.
- External microphone: High-quality audio is just as important as video. Invest in a shotgun or lavalier microphone to capture crisp sound.
- Extra batteries and memory cards: Always have spare batteries and memory cards to avoid running out of power or storage during a shoot.
2. Master the Basics of Composition
Great composition can make all the difference in the final product. Remember these rules when setting up your shots:
- Rule of Thirds: Divide your frame into a 3×3 grid, and place your subject at the intersections of the lines.
- Lead Room: Give your subject space in the direction they are looking or moving.
- Headroom: Leave adequate space between the top of your subject’s head and the top of the frame.
- Variety: Capture a mix of wide, medium, and close-up shots to create visual interest.
3. Utilize Proper Lighting Techniques
Good lighting is key to professional-looking footage. Keep these tips in mind:
- Natural light: Make the most of available sunlight by shooting during the golden hour (just after sunrise or before sunset).
- Three-point lighting: Use a key light, fill light, and back light to create depth and dimension.
- Diffusion: Use diffusion materials (e.g., a softbox or reflector) to soften harsh light and reduce shadows.

4. Capture High-Quality Audio
Don’t underestimate the importance of audio. Follow these guidelines to ensure clear sound:
- Use an external microphone: As mentioned earlier, invest in a shotgun or lavalier microphone for better audio quality.
- Monitor audio levels: Keep an eye on your audio levels during recording to prevent distortion.
- Minimize background noise: Choose quiet locations and use wind protection if shooting outdoors.

5. Edit Like a Pro
Editing can make or break your video. Learn the basics of video editing software and practice these techniques:
- Keep it tight: Trim your clips and remove any unnecessary footage to maintain a good pace and keep your audience engaged.
- Transitions: Use subtle transitions (e.g., cuts, crossfades) to move between scenes smoothly.
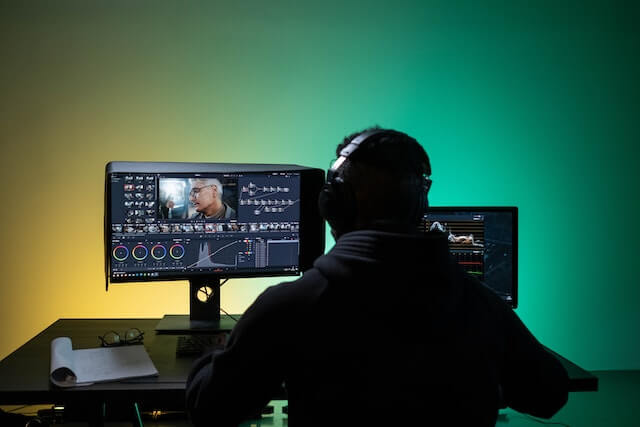
- Color correction and grading: Enhance your footage by adjusting exposure, contrast, and color balance. Apply color grading to create a consistent look and mood throughout the video.
- Add titles and captions: Use text elements to provide context, emphasize key points, and make your video more accessible.
- Sound design: Enhance your video with background music, sound effects, and well-mixed audio to create a rich audio experience.
6. Practice, Practice, Practice
The key to becoming a skilled videographer is consistent practice. Keep these tips in mind:
- Shoot regularly: Make it a habit to film and edit videos, even if they’re just for fun or personal projects.
- Learn from others: Study the work of professionals and peers, and take note of techniques that you can incorporate into your own style.
- Ask for feedback: Share your work with others and be open to constructive criticism to help you grow as a videographer.
FAQs
Q: What video editing software should I use? A: There are several video editing software options available, both free and paid. Some popular choices for beginners include Adobe Premiere Pro, Final Cut Pro X, DaVinci Resolve, and iMovie.
Q: How can I stabilize my footage? A: Using a tripod or a gimbal can significantly improve the stability of your footage. Alternatively, you can apply digital stabilization during post-production, but this may result in a slight loss of image quality.
Q: How do I choose the right frame rate for my video? A: Common frame rates include 24, 25, 30, 50, and 60 frames per second (fps). 24 fps is often used for a cinematic look, while 30 fps is common for online videos. Higher frame rates, like 60 fps, are useful for slow-motion footage. Choose the frame rate that best suits the style and purpose of your video.
Q: What resolution should I shoot in? A: 1080p (Full HD) is still widely accepted as a standard resolution. However, 4K is becoming increasingly popular and offers more flexibility in post-production, such as the ability to crop and reframe without losing quality. Keep in mind that higher resolutions require more storage space and processing power for editing.
Q: How do I properly expose my video? A: To achieve correct exposure, you’ll need to balance three settings: aperture, shutter speed, and ISO. A good starting point is to use a shutter speed double your frame rate (e.g., 1/50 for 24 fps), set your aperture based on the desired depth of field, and adjust your ISO to control brightness. Use your camera’s built-in histogram or zebras to monitor exposure levels.


